Mastering the Art of Knife Sharpening: A Beginner’s Guide
A sharp knife is safer, more efficient, and a joy to use—whether you're preparing dinner, carving wood, or splitting kindling in the bush. Still, many knife owners are unsure how to sharpen a knife properly, or worry they’ll do more harm than good.
At Ragweed Forge, we believe a good blade deserves a sharp edge. You don’t need expensive gear or years of experience—just some patience and a bit of guidance. Here’s a beginner’s guide to knife sharpening that’ll get you started the right way.
Why Knife Sharpening Matters
Before we get into technique, it’s worth understanding why a sharp blade matters so much.
Sharp Knives Are Safer
A dull knife forces you to use more pressure. That leads to slips, mistakes, and serious injuries. A sharp blade bites into material cleanly and predictably.
A Sharp Edge Saves Time
Whether you're feather-sticking firewood or slicing vegetables, a properly sharpened edge makes the job faster and more enjoyable.
It Extends the Life of Your Knife
Regular sharpening reduces unnecessary wear. A maintained edge lasts longer and preserves the integrity of the blade.
Understand the Knife Edge
To sharpen a knife effectively, you need to understand what you’re working with.
-
Bevels: These are the angled surfaces leading to the edge. Most knives have two bevels that meet in a “V.”
-
Apex: This is where the bevels meet—the actual cutting edge.
-
Burr: As you sharpen one side, a small wire-like burr forms on the opposite side. It’s a signal that you've removed enough metal and reached the apex.
Basic Knife Sharpening Tools
You don’t need a full workshop. These tools will take you far:
Whetstones / Sharpening Stones
A dual-grit stone (e.g., 1000/3000 or 1000/6000) is great for beginners. The coarse side reshapes the edge; the fine side polishes it.
Strop
A leather strop, charged with a polishing compound, removes micro-burrs and gives your edge a razor finish.
Water or Oil
Depending on your stone, you’ll need to lubricate it during sharpening. Water for waterstones, honing oil for oilstones—never mix the two.
A Testing Tool
Paper, receipts, or arm hair all work to test sharpness. Clean cuts mean you’re doing it right.
Explore our Knife Sharpening Supplies at Ragweed Forge to get started.
Step-by-Step: How to Sharpen a Knife with a Whetstone
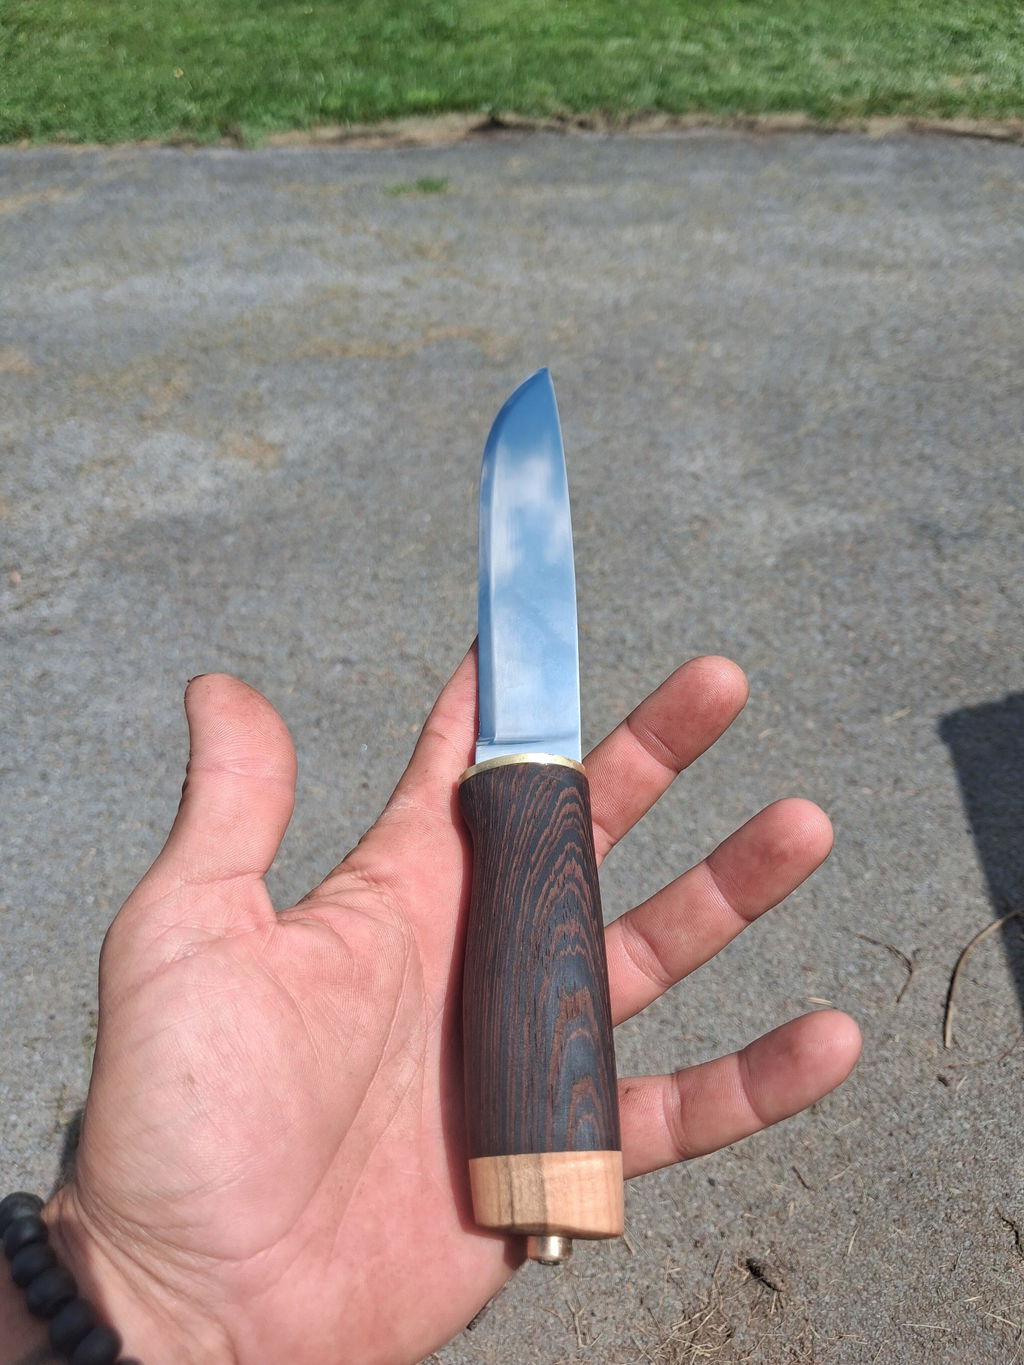
Start with a simple knife like a Mora companion to practice.
1. Prepare the Stone
-
Soak waterstones until bubbles stop (~5–10 min).
-
Keep them wet throughout sharpening.
-
For oilstones, apply a few drops of honing oil.
2. Find Your Angle
-
For Scandi grinds (like many Mora knives), lay the bevel flat on the stone.
-
For others, aim for 15–25°—about two stacked quarters under the spine.
3. Sharpen on Coarse Grit
-
Place the knife at the proper angle, edge away from you.
-
Push the knife forward across the stone in a slicing motion.
-
Apply gentle, even pressure with your fingers directly over the edge.
-
Repeat on the opposite side, pulling the edge toward you.
-
Continue until a burr forms along the entire edge on both sides.
4. Refine with Fine Grit
-
Flip to the finer side of the stone.
-
Repeat the same strokes, using less pressure.
-
Finish with alternating strokes and very light passes.
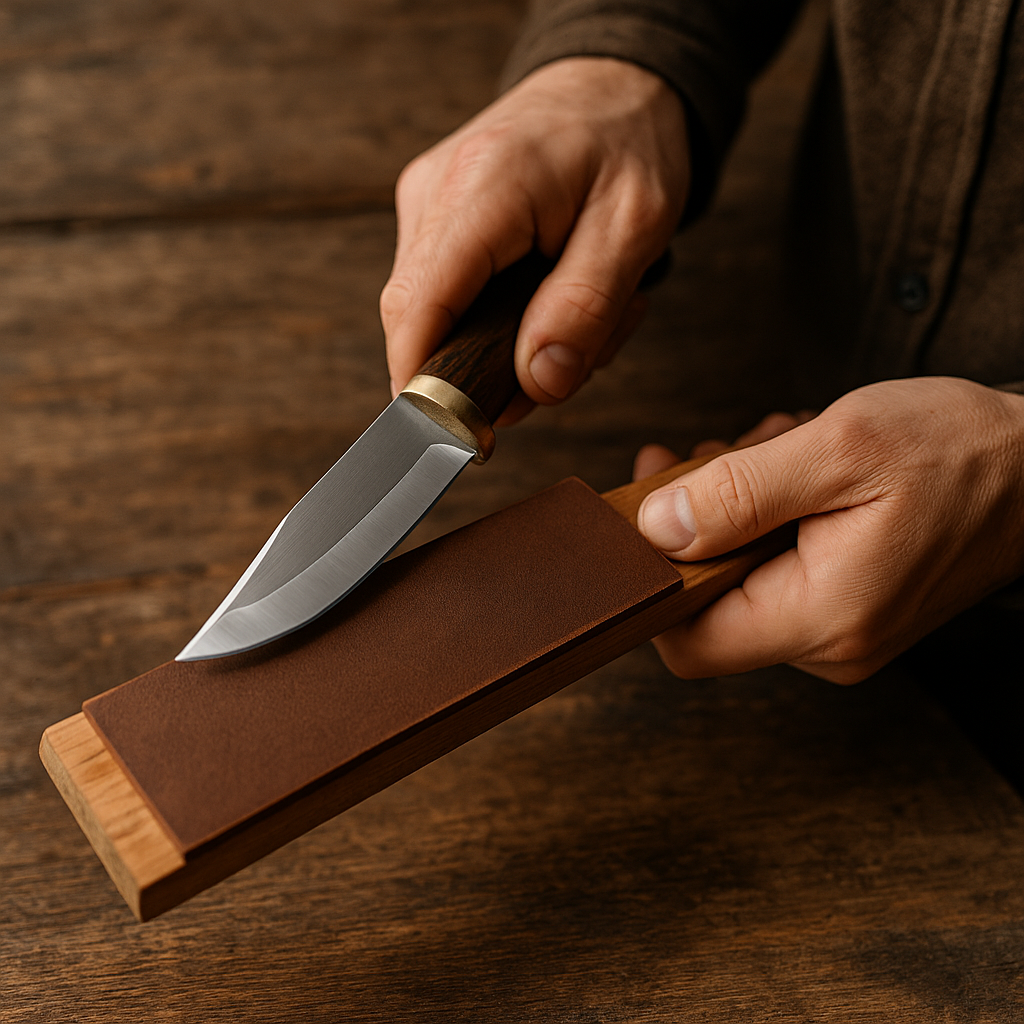
5. Strop to Finish
-
Apply compound to your leather strop.
-
Drag the edge backward (spine-first) across the strop.
-
Alternate sides, using light pressure.
-
10–20 passes per side is usually enough.
How to Test Sharpness
-
Paper Test: Slice through printer paper. A sharp blade glides through with no snagging.
-
Arm Hair Test: (Advanced) If the edge can shave hair, you’ve nailed it.
-
Visual Inspection: A shiny line on the edge usually means a flat spot that still needs work.
Avoid These Common Mistakes
-
Inconsistent Angle: Wavering angles make for dull or uneven edges.
-
Too Much Pressure: Especially on fine stones and strops. Let the abrasives do the work.
-
Skipping the Burr: If you don’t raise and remove the burr, you won’t get a true edge.
-
Skipping the Strop: A burr left behind will dull fast, even if the edge feels sharp at first.
Knife Maintenance After Sharpening
A truly sharp knife doesn’t need a full sharpening every time. Regular stropping or a few light passes on a fine stone can keep it razor-sharp between sessions.
Keep your knife clean, dry, and lightly oiled if carbon steel. Store it properly—and you’ll spend more time using it and less time fixing it.
Ready to Sharpen? Start with the Right Tools
Knife sharpening isn’t a secret art—it’s a practical skill that improves with practice. Whether you’re keeping your kitchen knife in top shape or maintaining your bushcraft blade in the field, learning how to sharpen a knife is one of the most empowering skills you can add to your toolkit.
Browse our full selection of sharpening stones, stropping gear, and sharpening supplies at Ragweed Forge—we’re here to help you every step of the way.